Some time you may want to access to user information from their google account (e.g. Calendar, Email, etc... ). To do so, you first have to create a project on Google API Console and setup OAuth settings.
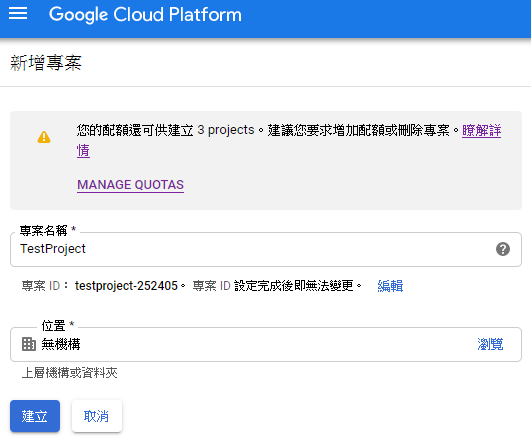
### Create a new project for you application
Create a test project on Google Cloud Platform (Google API Console)
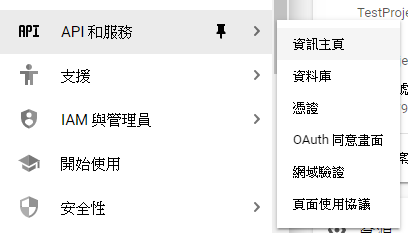
### Setup OAuth 2.0 authorize page
Select API and Service
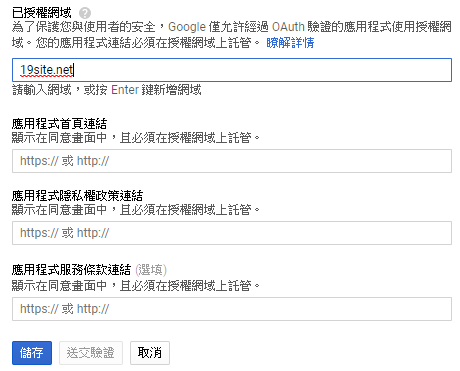
Fill your application name

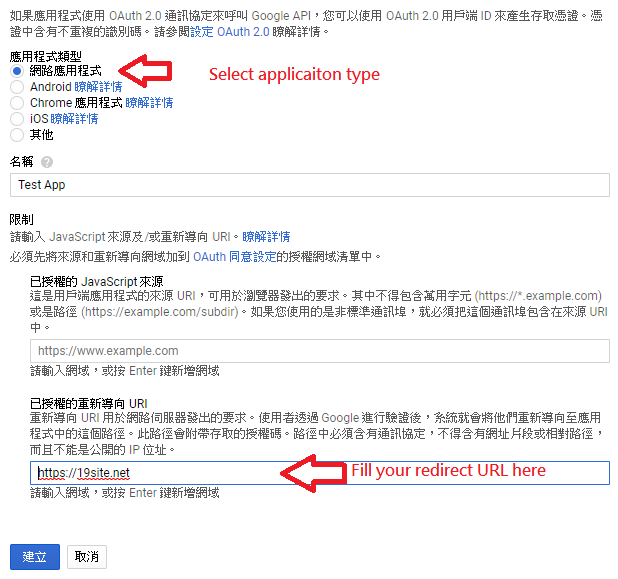
Fill in you direct URL. (OAuth2.0 need a URL to redirect back to your site form passing the token or code)
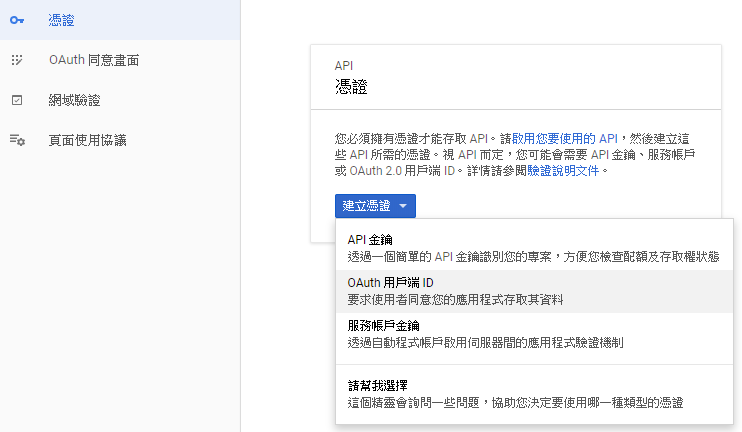
### Setup OAuth 2.0 application client
You have to create an OAuth 2.0 client in order to make it work.
Select application type and fill your web site url. (redirect url)
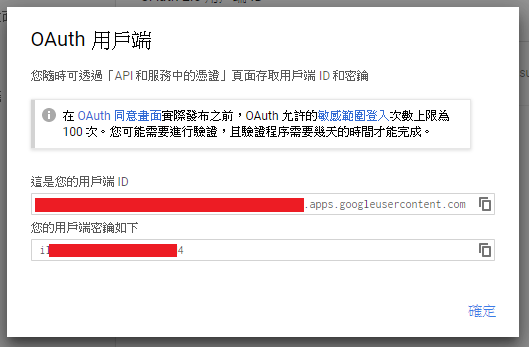
Then you will receive a OAuth2.0 client id and secret key.
That's all of Google part setting.
### Your application
Reference URL : https://developers.google.com/identity/protocols/OAuth2WebServer
In you application, application may generate a URL to Google OAuth 2.0 server and redirect the user there.
Code below is a example in NodeJs.
```js
var query = Qs.stringify({
scope: 'https://www.googleapis.com/auth/calendar',
access_type: 'offline',
include_granted_scopes: true,
state: 'state_parameter_passthrough_value',
redirect_uri: 'https://19site.net',
response_type: 'code',
client_id:
});
var url = 'https://accounts.google.com/o/oauth2/v2/auth?' + query;
```
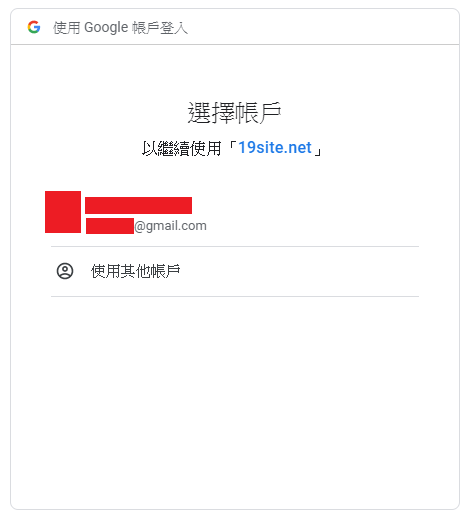
The URL will prompt user to select their Google account to continue.
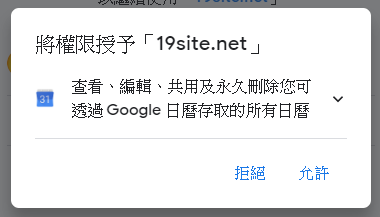
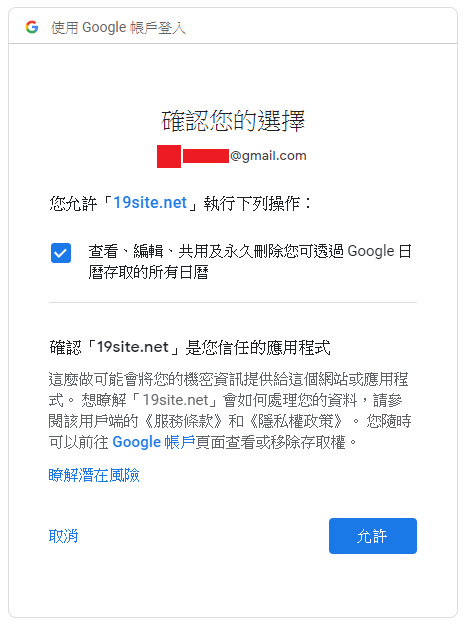
Ask you user to grant the following permission to your application.
Confirm user action.
Then user will redirect to the URL that you set (https://19site.com).
Finish : )